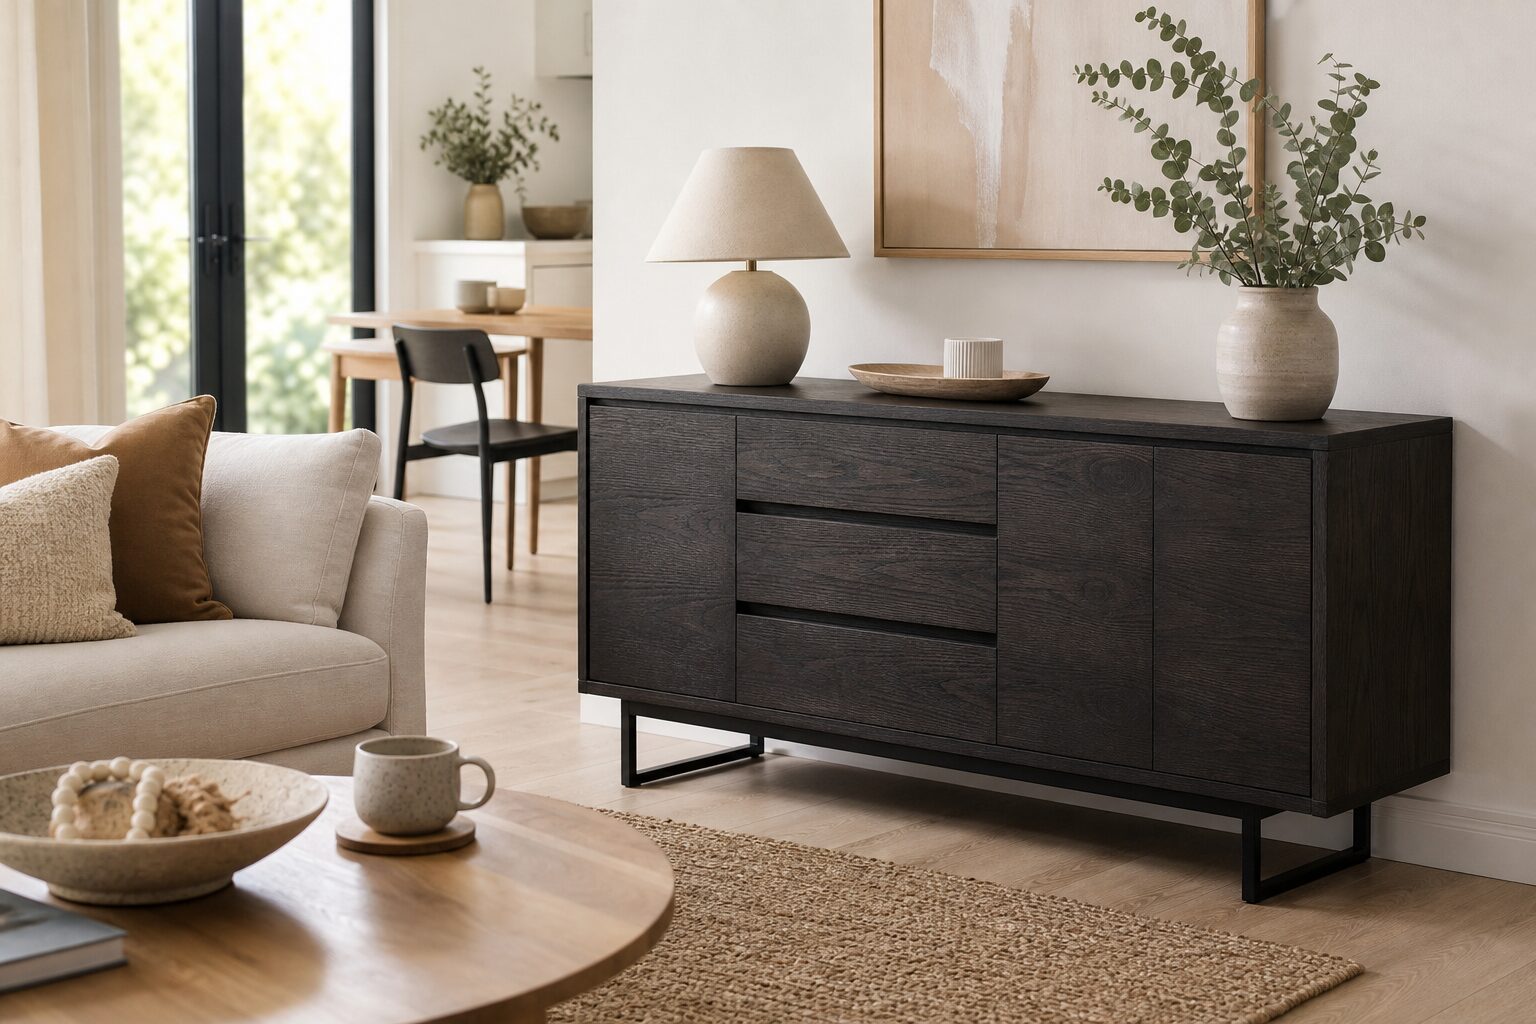
My mother-in-law once asked me why her new sideboard “looked good empty but messy the second she used it.” That’s the whole problem with sideboards nobody tells you about before you buy one. It’s not the buying — it’s the filling. I’ve set up three of these cabinets in two different homes now, and the black oak one currently sitting in my dining room took me three tries to get right. So here’s what actually works, not just what looks nice in a showroom photo.
If you’re looking at a black oak sideboard storage cabinet with drawers, this walk-through is for you. It’s a compact one at 37.5 x 35 x 99cm, so it suits a hallway, a narrow dining wall, or even a home office corner — but the same principles apply if you’re eyeing something taller.

Step 1: Work Out What’s Actually Going In It Before You Buy
This sounds obvious but almost nobody does it. Before you commit to dimensions, take five minutes and physically pile up what you want stored — placemats, cutlery trays, a few serving platters, chargers, maybe the good tablecloths. Measure that pile.
A 99cm-wide unit like this one gives you two drawers up top and a cupboard section below, which is roughly the sweet spot for a couple who entertains occasionally but doesn’t own a full dinner service for twelve. If you host often, or you’re merging two households’ worth of serveware, look at something with more depth and height — the black highboard sideboard cabinet at 70 x 31 x 115cm gives you extra vertical storage without eating more floor space, which matters in older Victorian terraces with narrow dining rooms.
Step 2: Assemble on Carpet or a Moving Blanket, Not Bare Floorboards
Engineered wood with a black oak finish scratches easily during assembly, before it’s even in use. Lay down an old blanket or offcut of carpet, keep the panels face-up until you need them, and don’t stand the cabinet upright until every screw is in — half-built sideboards are wobblier than they look and the drawer runners can bend if the frame flexes.
Budget an hour if you’re doing it solo, less with a second pair of hands holding panels square. Keep the little bag of cam locks and dowels separate from any other flat-pack job you’ve got going — I once mixed hardware from two builds and spent twenty minutes hunting for the right length screw.
Step 3: Organise the Drawers by Frequency of Use, Not Category
The instinct is to sort by type — cutlery here, napkins there. Better system: top drawer gets whatever you touch weekly (everyday placemats, a spare set of coasters, the bottle opener). Bottom drawer or cupboard gets the occasional stuff — the Christmas tablecloth, the fondue set you used once in 2019.
A few things that make drawers actually stay tidy:
- Use a shallow drawer divider or even a cutlery tray turned sideways to stop linens sliding into one crumpled pile.
- Roll tablecloths instead of folding — they take up less vertical space and don’t crease as badly.
- Keep one drawer completely empty for a month, then fill it with whatever you keep grabbing from the kitchen. That’s your real “frequently used” drawer, not the one you assumed.
Step 4: Use the Cupboard Section for Bulk, Not Display
The enclosed cupboard on the black oak sideboard is deeper than it looks, which is great for stacking dinner plates or storing a couple of serving bowls nested inside each other. Don’t waste it on decorative objects — that’s what the top of the cabinet is for. Vertical dividers (even a cheap wire rack from a kitchenware shop) stop plates sliding sideways when you open the door.
If you’re storing wine or spirits in there, keep bottles lying flat near the back where the cabinet is coolest, away from the door where warm room air hits first.

Step 5: Style the Top Without Cluttering It
This is where most sideboards get ruined. The rule I use: odd numbers, varied heights, one soft texture. A lamp or a pair of taper candles on one side, a low ceramic bowl in the middle, a small framed print leaning against the wall on the other side. Nothing symmetrical, nothing that needs plugging in unless it’s a lamp.
Black oak reads warm rather than harsh in most Australian living rooms because the grain still shows through — it’s not flat matte black. That means it pairs well with terracotta, warm timber picture frames, and brass or matte gold hardware rather than chrome, which can look a bit cold against it.
Step 6: Think About Where It Actually Lives
Sideboards get used differently depending on the room:
- Dining room: keep it within arm’s reach of the table for serving during dinners — ideally along the wall you’d naturally walk past to the kitchen.
- Entryway: the compact black oak unit works well here for shoes, keys and mail, but keep a shallow tray on top to catch loose items before they migrate to the floor.
- Living room: use it as a media console alternative — drawers for remotes and cables, cupboard for board games.
If your dining wall is wider and you need more spread-out storage — say a long run under a mirror or artwork — the buffet cabinet in brown engineered wood at 120 x 36 x 69cm is a good option, and pairing a black oak piece with a warmer brown buffet elsewhere in an open-plan space actually works better than matching everything exactly.

Caring for the Black Oak Finish Long-Term
Engineered wood with an oak veneer or laminate finish doesn’t need oiling or waxing like solid timber, which is one reason it’s a practical choice for busy households. A few habits keep it looking new:
- Wipe spills immediately with a dry or barely damp cloth — pooled liquid is the main cause of swelling around drawer fronts.
- Use coasters or a small tray under drinks left on top, even briefly.
- Avoid direct sun on one side of the cabinet for years on end — it can fade unevenly and you’ll notice a colour difference if you ever move it.
- Tighten drawer handle screws every six months or so; they loosen with daily opening and closing.
Once it’s set up properly, a sideboard like this stops being “the thing we bought and now have to deal with” and turns into the piece that quietly runs your dining room — cutlery sorted, tablecloths rolled, and nothing sliding around when you open a drawer in a hurry before guests arrive.